National hotline
136-5182-6898


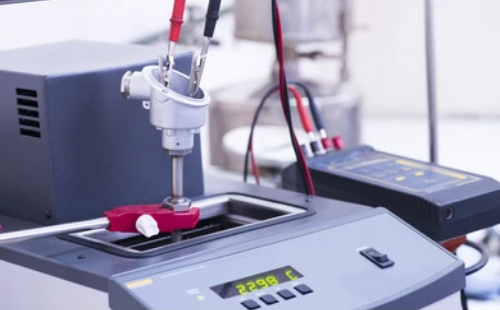 Test thermocouple temperature sensor with multimeter
What are thermocouples?
Thermocouple temperature sensors belong to the category of electronic equipment called transducers. Basically, the transducer converts one physical quantity into another. In the case of temperature sensor of thermocouple, the physical quantity temperature is converted into another proportional physical quantity - voltage.
The thermocouple temperature sensor is composed of at least two different conductors (metals), which are connected together in the form of two different junctions. For example, if you use two iron wires and a copper wire, and screw one end of the two iron wires to both ends of the copper wire, you will effectively get a thermocouple with two independent iron copper joints. One of these knots, called heat knots, will be connected to the body that needs to measure temperature. The other node is called the cold node, which either remains open or is connected to another object whose temperature is known and used as a reference.
When the hot end is heated, the temperature difference between it and the cold end is converted into a measurable proportional voltage. This constitutes the basic working principle of the thermocouple. The resulting voltages are further used to control different voltage driving circuits in various applications.
How to test thermocouples
However, before replacing the thermocouple temperature sensor, it needs to be confirmed that there is a problem. For this purpose, a simple multimeter and a little understanding of basic electronics are enough. There are three ways to solve this problem. In the following lines, we show you the description of each of the three methods of testing the temperature sensor of thermocouple with multimeter.
Instructions for testing thermocouples with a multimeter
Note: Consider the thermocouple installed in the gas appliance pipeline.
Method 1: Resistance test
requirement
1) Digital multimeter capable of reading resistance
2) Alligator clip
program
Carefully remove the faulty thermocouple from the gas appliance. Connect the alligator clip to the slot of the multimeter. Now, fix one clamp on one end of the thermocouple and the other clamp on the other end, the one screwed into the gas valve. Open the multimeter and select the Ohm/Resistance Reading option. If the thermocouple is OK, the multimeter should show a very small resistance, about a few ohms. Some multimeters have continuity check options where the low resistance normally observed in good conductors is indicated by an audible alarm. If you use such a multimeter, place it on the continuity option. If your thermocouples are good, you will hear continuous audio.
A high resistance (e.g. 40 ohms) indicates that the thermocouple is damaged and must be replaced.
Method 2: Open circuit test
requirement
1) Digital multimeter capable of reading resistance and millivolt
2) Alligator clip
3) Cigarette lighter
program
In this test, the same settings as above will be used, but the voltage generated by the thermocouple will be measured and checked instead of measuring the resistance. To do this, connect the alligator clip as described in the resistance test and the millivolt option in the multimeter must be selected.
Now, use a cigarette lighter to heat the end of the thermocouple in contact with the pilot flame (as opposed to the one screwed into the gas valve). In general, thermocouples used in domestic gas appliances (such as stoves, heaters, etc.) are designed to output a voltage in the range of 25 mV to 30 mV. If the output voltage of the thermocouple under test is within this range, there is no problem. However, if its output voltage is close to 20 mV, it is recommended to replace it.
Method 3: Closed circuit test
requirement
1) Digital multimeter capable of reading resistance and millivolt
2) Alligator clip
3) Thermocouple adapter
program
As the name implies, the test is carried out by placing the thermocouple in its working environment, that is, in the gas appliance. This is a more comprehensive test because it outlines the performance of thermocouples under load. This is important because in the open circuit test, the thermocouple may output normal voltage under no-load conditions, but its voltage may drop under load conditions. Therefore, if the thermocouple passes the open circuit test, but your gas appliance still cannot work properly after installation, you must perform the closed circuit test described below.
To perform a closed-circuit test, you need a thermocouple adapter. Many manufacturers provide these adapters for testing purposes and are readily available in stores. The adapter is screwed into the gas valve. Then screw the thermocouple into the other end of the adapter.
Connect one of the alligator clips to the screw protruding from the adapter and the other to the exposed end of the thermocouple. Select the millivolt reading option in the multimeter and turn on the device. Ideally, the reading should be between 12 mV and 15 mV. If the thermocouple output voltage is lower than 12 mV, there is a significant drop, which means it is defective and needs to be replaced.
Therefore, the thermocouple can be easily tested using the above method. If it fails these tests, it is better to replace it.


